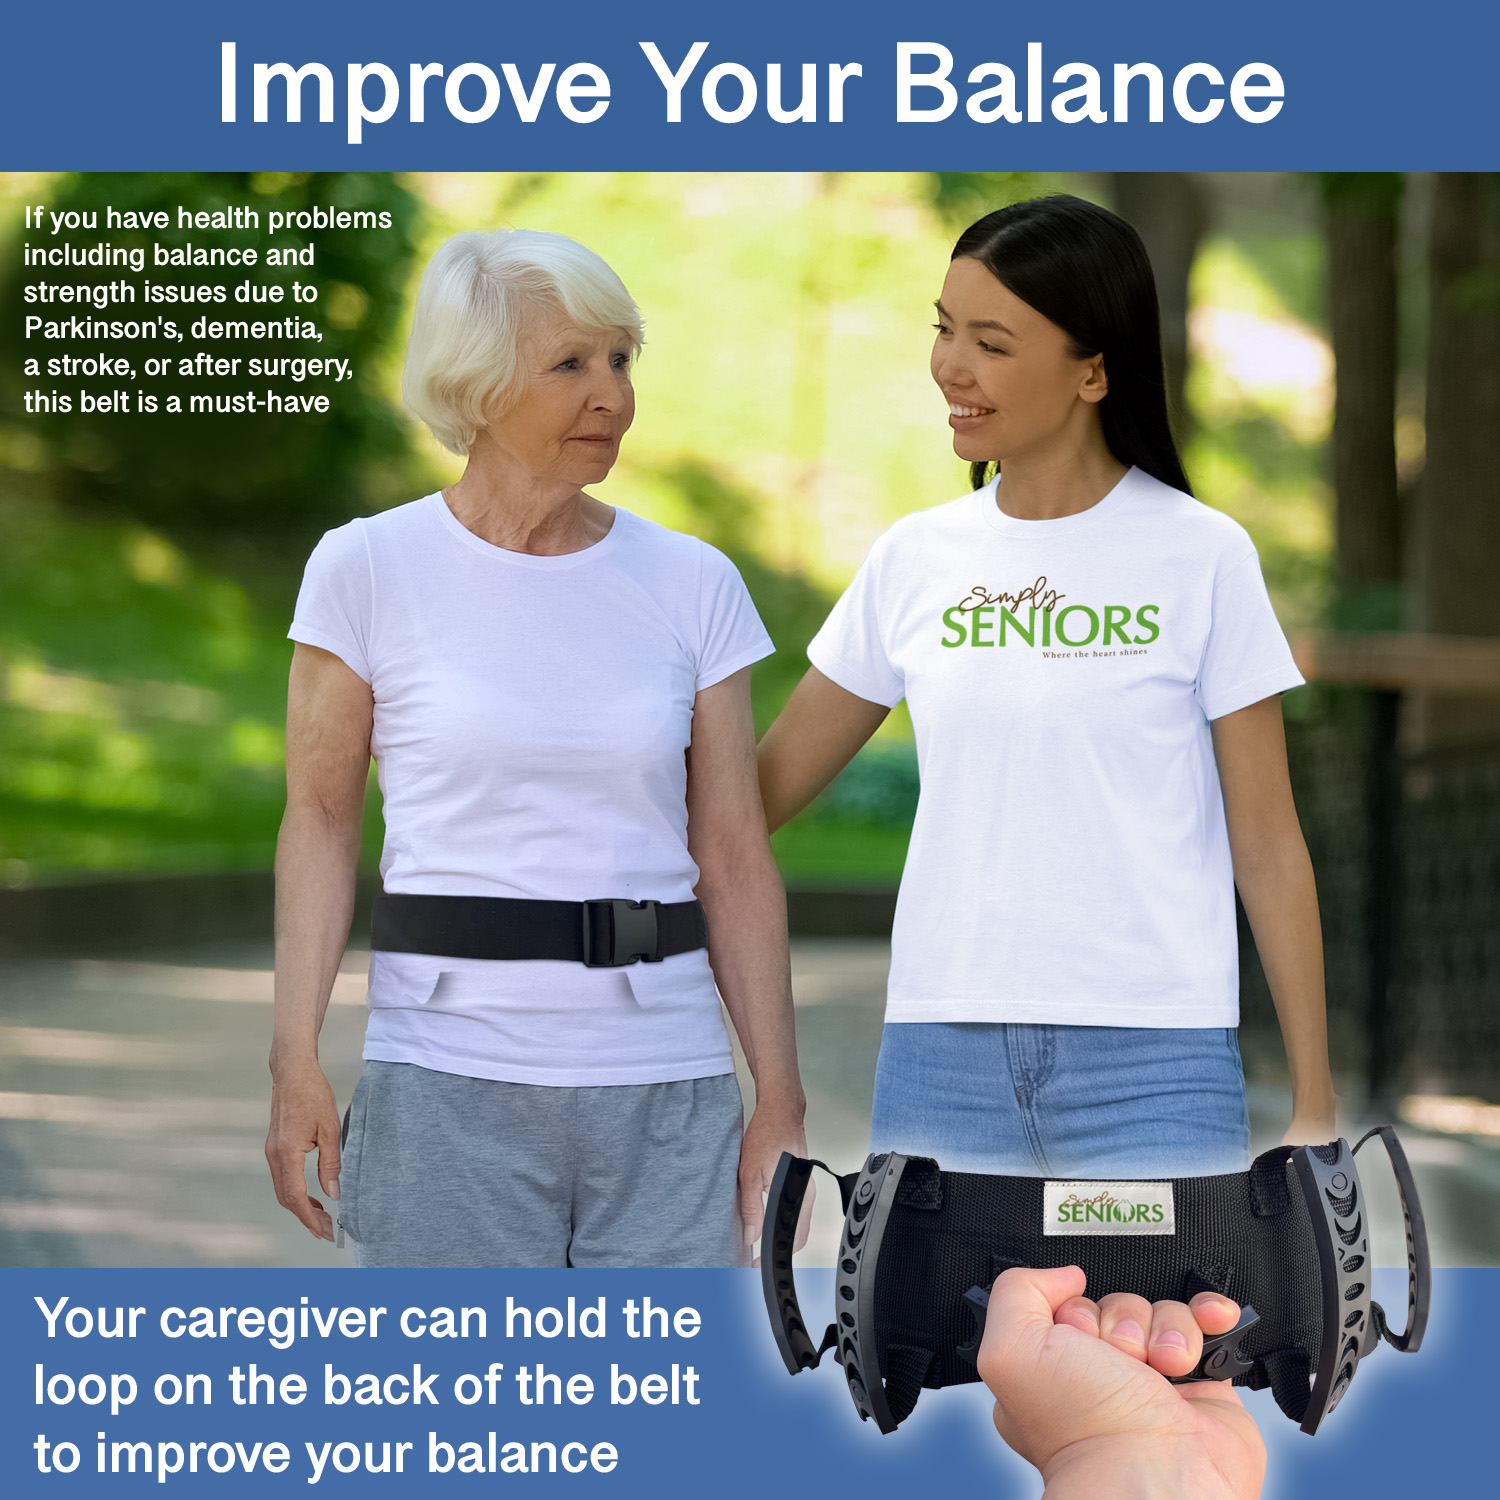
As we age, maintaining mobility can become increasingly challenging, making assistance during transfers and ambulation a crucial part of senior care. Gait belts, often known as transfer belts, are invaluable tools designed to provide support and stability for seniors and elderly individuals. At Simply Seniors, we understand the importance of safe and comfortable mobility, which is why we offer a range of gait belts with handles, available on Amazon. In this article, we will provide a step-by-step guide on how to use a gait belt safely, ensuring the well-being of seniors during transfers and physical therapy sessions.
Step 1: Select the Right Gait Belt
Choosing the appropriate gait belt is the first step in ensuring safety. Ensure that the gait belt you select is the right size and style for the senior’s needs. Gait belts with handles are particularly helpful for providing a secure grip and additional support.
Step 2: Prepare the Environment
Before assisting the senior, ensure that the surrounding environment is free from hazards and obstacles. Clear pathways and make sure that the destination area (e.g., a chair or bed) is easily accessible.
Step 3: Explain the Process
Communicate with the senior to explain the process. Let them know that you will be using the gait belt to assist them safely and maintain their comfort and dignity throughout the transfer.
Step 4: Position the Senior
Assist the senior in standing and position them with their back against your body. Place the gait belt around their waist, ensuring it is snug but not overly tight. The belt should be positioned over their clothing and not directly on their skin.
Step 5: Secure the Gait Belt
Fasten the gait belt securely, ensuring that the buckle or fastening mechanism is locked in place. Double-check that the belt is neither too loose nor too tight – it should allow for two fingers to be inserted comfortably between the belt and the senior’s waist.
Step 6: Maintain a Firm Grip
With the gait belt in place, grasp the handles firmly with both hands. Maintain a comfortable stance with your feet shoulder-width apart to provide stability during the transfer.
Step 7: Assist with the Transfer
Assist the senior with the transfer, whether it’s from a bed to a wheelchair, a chair to a toilet, or any other location. Use the gait belt to provide support and control the movement, ensuring that the senior maintains their balance.
Step 8: Encourage the Senior
During the transfer, offer encouragement and reassurance to the senior. Let them know that you are there to support them and that they can rely on the gait belt for stability.
Step 9: Complete the Transfer
Once the transfer is complete, guide the senior to their desired location and help them to sit or lie down as needed. Carefully unfasten and remove the gait belt.
Step 10: Store the Gait Belt Safely
After use, store the gait belt in a safe and easily accessible location for future assistance.
Conclusion
Using a gait belt safely is a crucial skill for caregivers and healthcare professionals assisting seniors and elderly individuals. At Simply Seniors, our gait belts with handles are designed to provide the support and stability needed for safe transfers and physical therapy sessions. By following this step-by-step guide and choosing the right gait belt, you can ensure the safety and well-being of seniors while maintaining their independence and dignity.


